はじめに
さて今回は RxDataSources の使い方について見ていきたいと思います。
RxDataSources を利用することで、Cell の選択/移動/削除などの扱いが書きやすくなるとのことのようです。
では早速見ていきましょう。
今回利用するライブラリをインストール
まずは、今回の紹介サンプルで利用するライブラリのインストールから始めましょう。CocoaPods を使いますので、下記のように Podfile を作成します。
1
2
3
4
5
6
7
8
9
10
11
12
13
14
15
16
17
18
19
20
21
# Podfile
platform : ios , "11.0"
use_frameworks !
target "RxDataSourcesSample" do
pod ' RxSwift ' , ' ~> 4.0 '
pod ' RxCocoa ' , ' ~> 4.0 '
pod ' RxDataSources ' , ' ~> 3.0 '
end
target "RxDataSourcesSampleTests" do
pod ' RealmSwift '
pod ' RxBlocking ' , ' ~> 4.0 '
pod ' RxTest ' , ' ~> 4.0 '
end
target "RxDataSourcesSampleUITests" do
pod ' RealmSwift '
pod ' RxBlocking ' , ' ~> 4.0 '
pod ' RxTest ' , ' ~> 4.0 '
end
RxDataSourcesを利用したサンプル
準備ができたので、実際に ViewController にサンプルを書いてみましょう。
プロジェクト構成
因みに、今回のプロジェクト構成は下記のようになっています。
1
2
3
4
5
6
7
RxDataSourcesSample
├── Model
│ └── SectionModel
├── AppDelegate . swift
├── ViewController . swift
├── Main . storyboard
...
SectionModelの実装
Model配下に配置した SectionModel を実装します。RxDataSources を利用するにあたって根幹をなす Model となるため非常に重要です。
1
2
3
4
5
6
7
8
9
10
11
12
13
14
// SectionModel.swift
import RxDataSources
struct SectionModel {
var items: [ Item ]
}
extension SectionModel: SectionModelType {
typealias Item = ( String , Int )
init ( original: SectionModel , items: [ Item ]) {
self = original
self . items = items
}
}
今回のサンプルでは Header は特にセットしないため、 cell 内に表示するデータを持つために items のみ定義します。SectionModel は struct (構造体)で定義をし、SectionModelType を継承させます。
SectionModelType の中身を覗いてみると非常にシンプルな作りになっています。
1
2
3
4
5
6
7
8
9
import Foundation
public protocol SectionModelType {
associatedtype Item
var items: [ Item ] { get }
init ( original: Self , items: [ Item ])
}
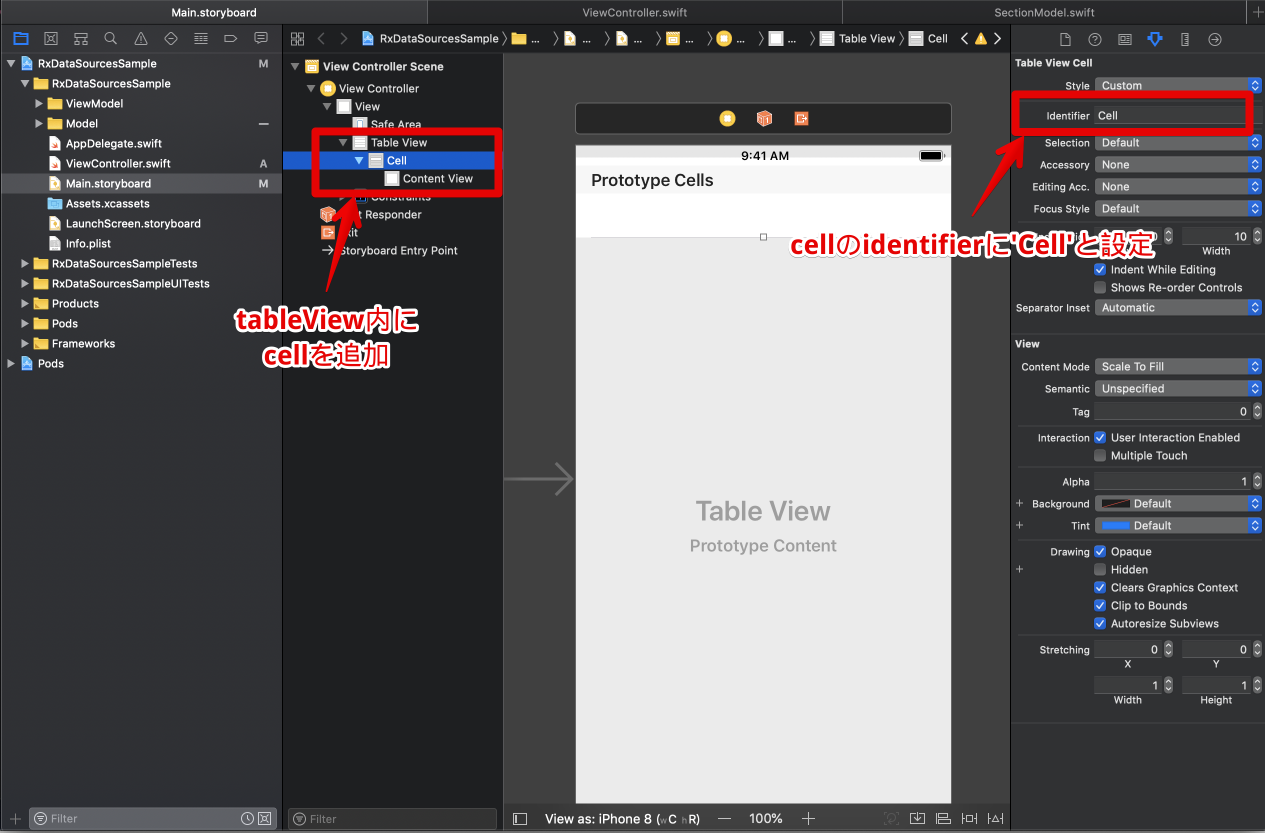
Storyboardの実装
Main.storyboard は下図のように実装します。
ViewControllerの実装
準備が整ったので ViewController を実装していきましょう。
1
2
3
4
5
6
7
8
9
10
11
12
13
14
15
16
17
18
19
20
21
22
23
24
25
26
27
28
29
30
31
32
33
34
35
36
37
38
39
40
41
42
43
44
45
46
47
48
49
50
51
52
53
54
55
56
57
58
59
60
61
62
63
64
65
66
67
68
69
70
71
72
73
74
75
76
77
78
79
80
81
82
83
import UIKit
import RxSwift
import RxCocoa
import RxDataSources
class ViewController: UIViewController {
// MARK: - IBOutlets
@ IBOutlet private weak var tableView: UITableView !
// MARK: - Properties
private let disposeBag = DisposeBag ()
// dataSourceをRxDataSourcesを利用して定義する
private var dataSource: RxTableViewSectionedReloadDataSource < SectionModel >!
// cellに設定するデータを保持する
private var sectionModels: [ SectionModel ] !
// cellに表示するデータの変更を検知して、dataSourceに知らせる
private var dataRelay = BehaviorRelay < [ SectionModel ] > ( value: [])
// MARK: - Lifecycle methods
override func viewDidLoad () {
super . viewDidLoad ()
// Cellに設定するデータを格納
sectionModels = [ SectionModel ( items: [( "test1" , 1 ), ( "test2" , 2 ), ( "test3" , 3 )])]
// RxDataSourcesを利用してCellを描画
dataSource = RxTableViewSectionedReloadDataSource < SectionModel > (
configureCell: { _ , tableView , indexPath , item in
// 引数名通り、与えられたデータを利用してcellを生成する
let cell = tableView . dequeueReusableCell ( withIdentifier: "Cell" ,
for : IndexPath ( row: indexPath . row , section: 0 ))
cell . textLabel ? . text = item .0
cell . accessoryType = . disclosureIndicator
return cell
}, canEditRowAtIndexPath: { _ , _ in
// この引数を設定しないと、Cellの削除アクションができない
return true
})
// dataRelayの変更をキャッチしてdataSourceにデータを流す
dataRelay . asObservable ()
. bind ( to: tableView . rx . items ( dataSource: dataSource ))
. disposed ( by: disposeBag )
// Cellを削除した場合にバインディングされる処理
tableView . rx . itemDeleted
. subscribe ( onNext: { [ weak self ] indexPath in
guard let strongSelf = self , let sectionModel = strongSelf . sectionModels . first else { return }
var items = sectionModel . items
items . remove ( at: indexPath . row )
strongSelf . sectionModels = [ SectionModel ( items: items )]
// dataRelayにデータを流し込む
strongSelf . dataRelay . accept ( strongSelf . sectionModels )
})
. disposed ( by: disposeBag )
// 初期表示用のデータフェッチ
fetch ()
}
}
// MARK: - Private methods
extension ViewController {
// 初期表示用のデータフェッチする処理
private func fetch () {
// sectionModelsを利用して
Observable . just ( sectionModels )
. subscribe ( onNext: { [ weak self ] _ in
guard let strongSelf = self else { return }
// dataRelayにデータを流し込む
strongSelf . dataRelay . accept ( strongSelf . sectionModels )
})
. disposed ( by: disposeBag )
}
}
因みに Cell を削除した場合に deleteRow を実行する必要はありません。RxTableViewSectionedReloadDataSource を利用すると reloadData が実行されるようになっているためです。
1
2
3
4
5
6
7
8
9
10
11
12
13
14
15
16
17
18
19
20
21
22
23
24
25
26
27
// RxTableViewSectionedReloadDataSource.swift
#if os(iOS) || os(tvOS)
import Foundation
import UIKit
#if !RX_NO_MODULE
import RxSwift
import RxCocoa
#endif
import Differentiator
open class RxTableViewSectionedReloadDataSource < S: SectionModelType >
: TableViewSectionedDataSource < S >
, RxTableViewDataSourceType {
public typealias Element = [ S ]
open func tableView ( _ tableView: UITableView , observedEvent: Event < Element > ) {
Binder ( self ) { dataSource , element in
# if DEBUG
self . _dataSourceBound = true
# endif
dataSource . setSections ( element )
tableView . reloadData () --> reloadData を実行するようになっている
}. on ( observedEvent )
}
}
#endif
MVVMで実装してみよう
おまけとして、 MVVM での実装例も載せておきます。
プロジェクト構成
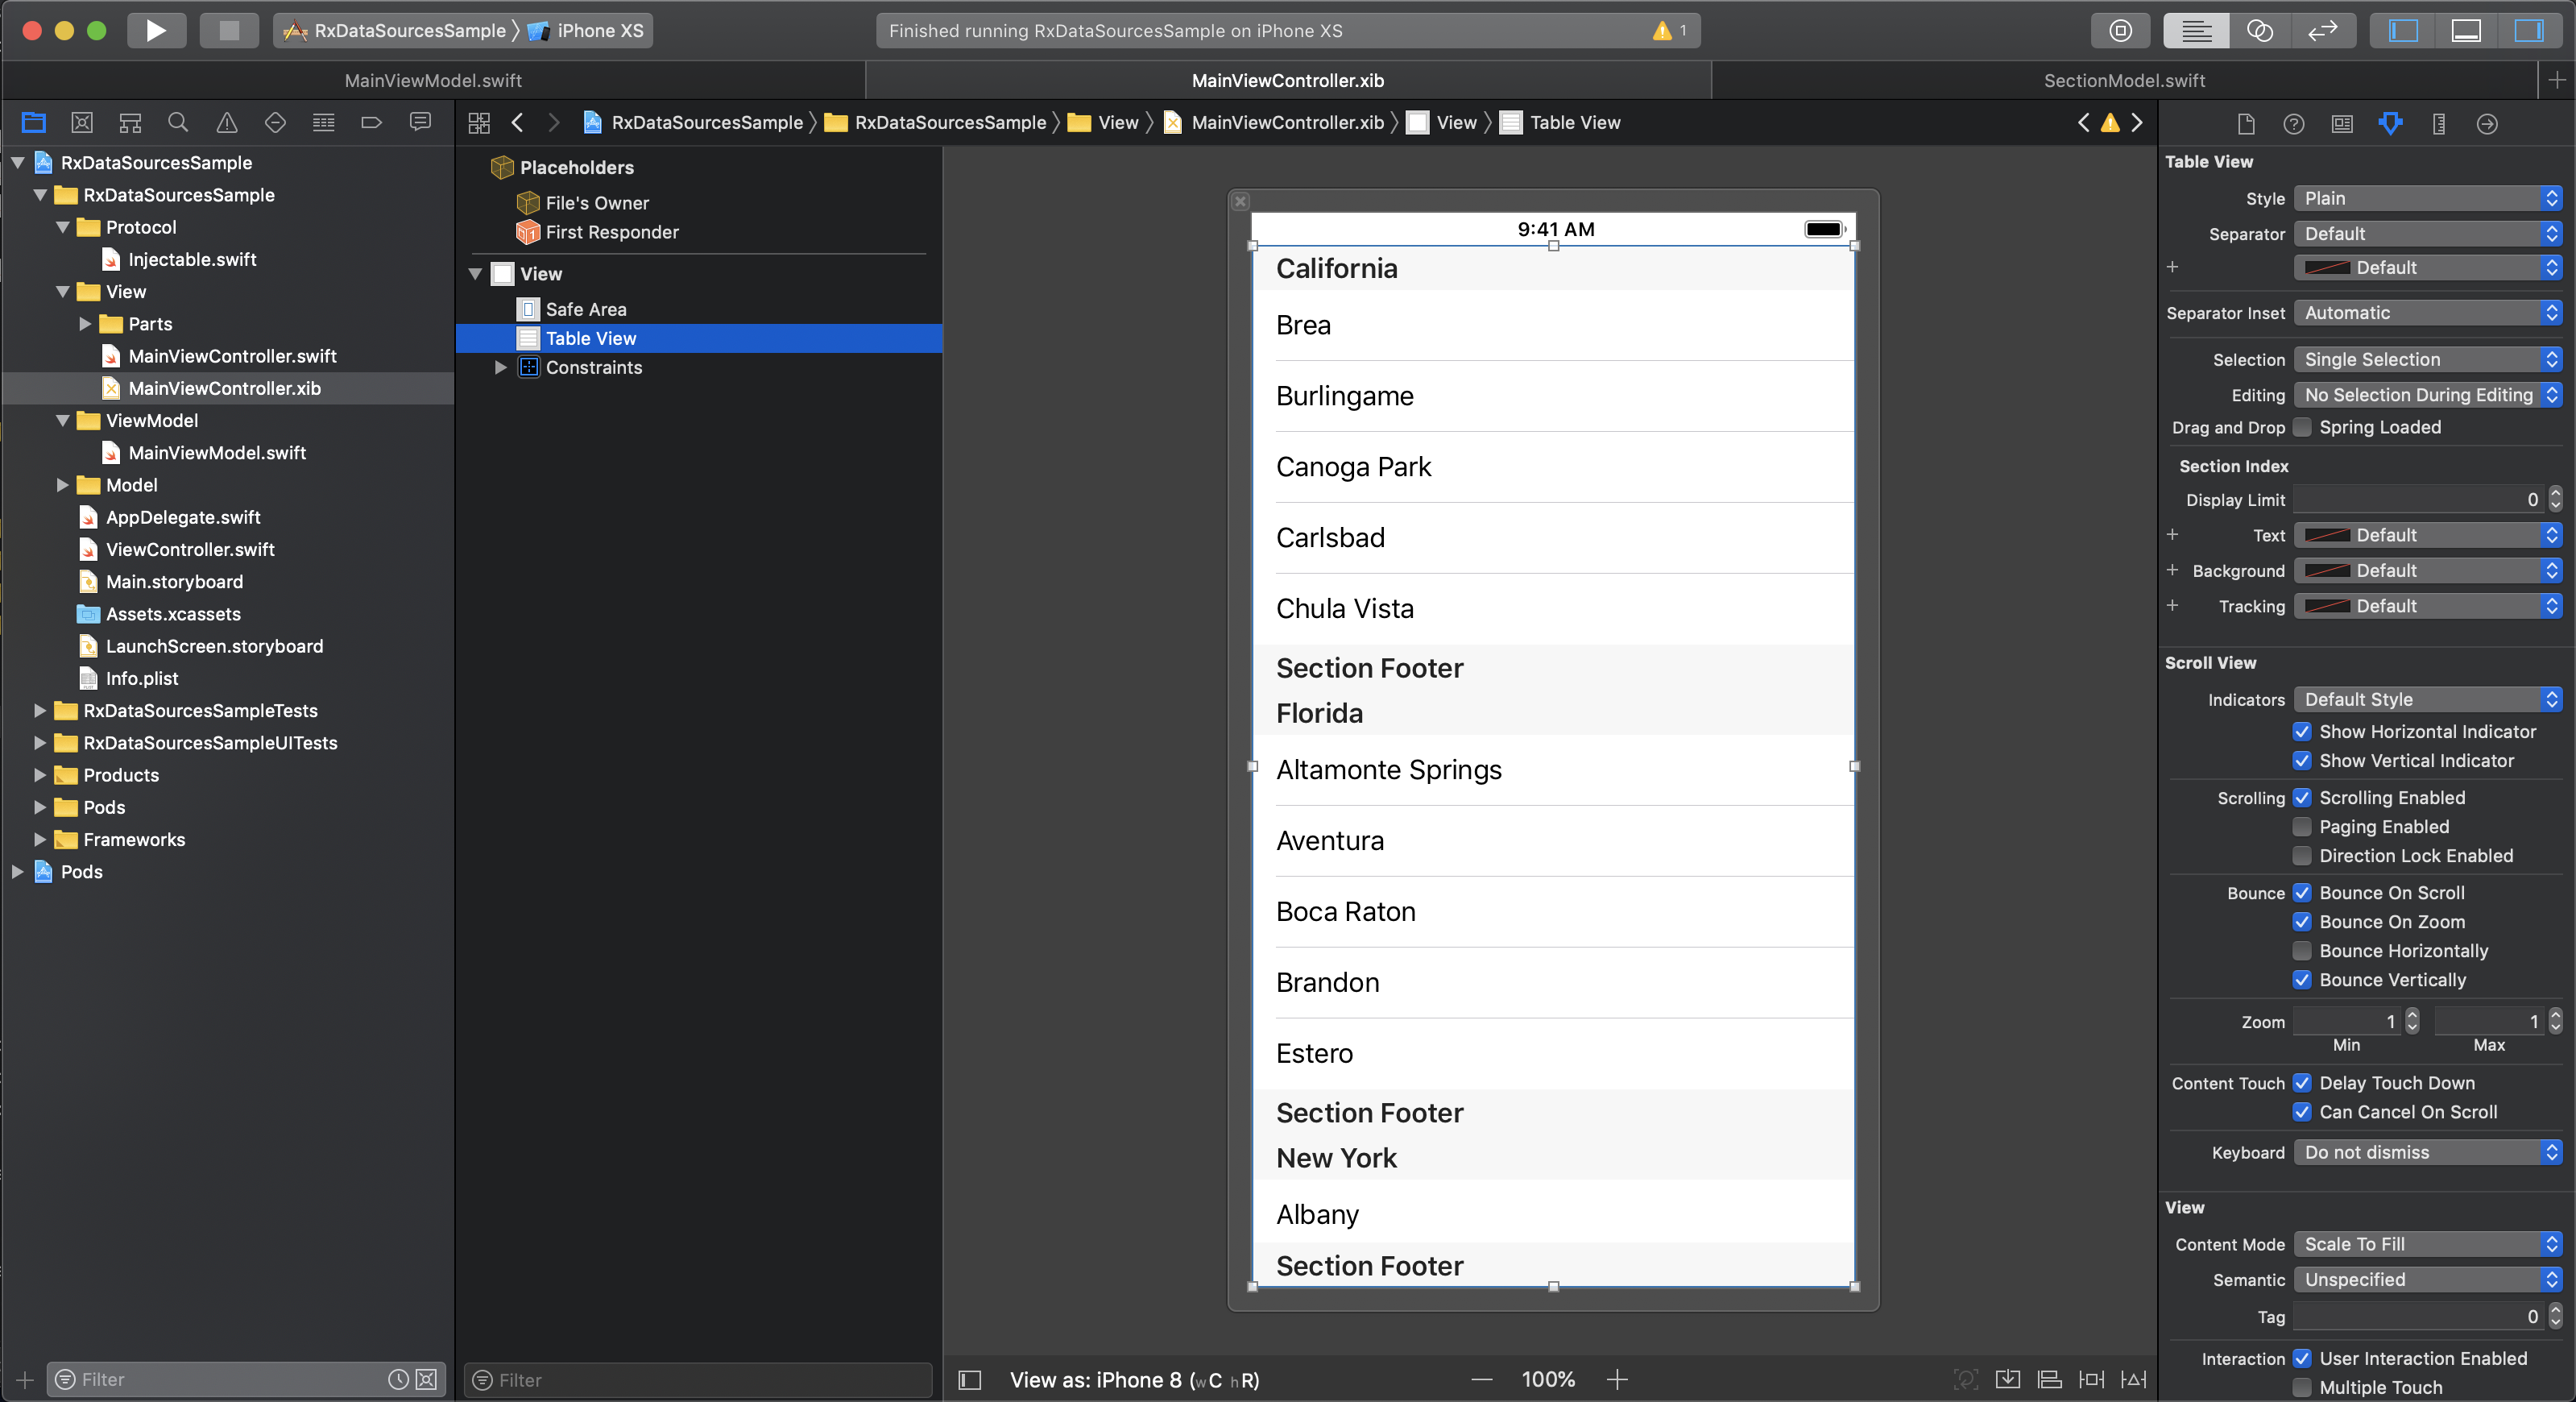
プロジェクト構成は下図の通りです。
1
2
3
4
5
6
7
8
9
10
11
12
13
14
15
RxDataSourcesSample
├── Protocol
│ └── Injectable . swift
├── Model
│ └── SectionModel
├── ViewModel
│ └── MainViewModel
├── View
│ ├── Parts
│ │ ├── CustomTableViewCell . swift
│ │ └── CustomTableViewCell . xib
│ ├── MainViewController . swift
│ └── MainViewController . xib
├── AppDelegate . swift
...
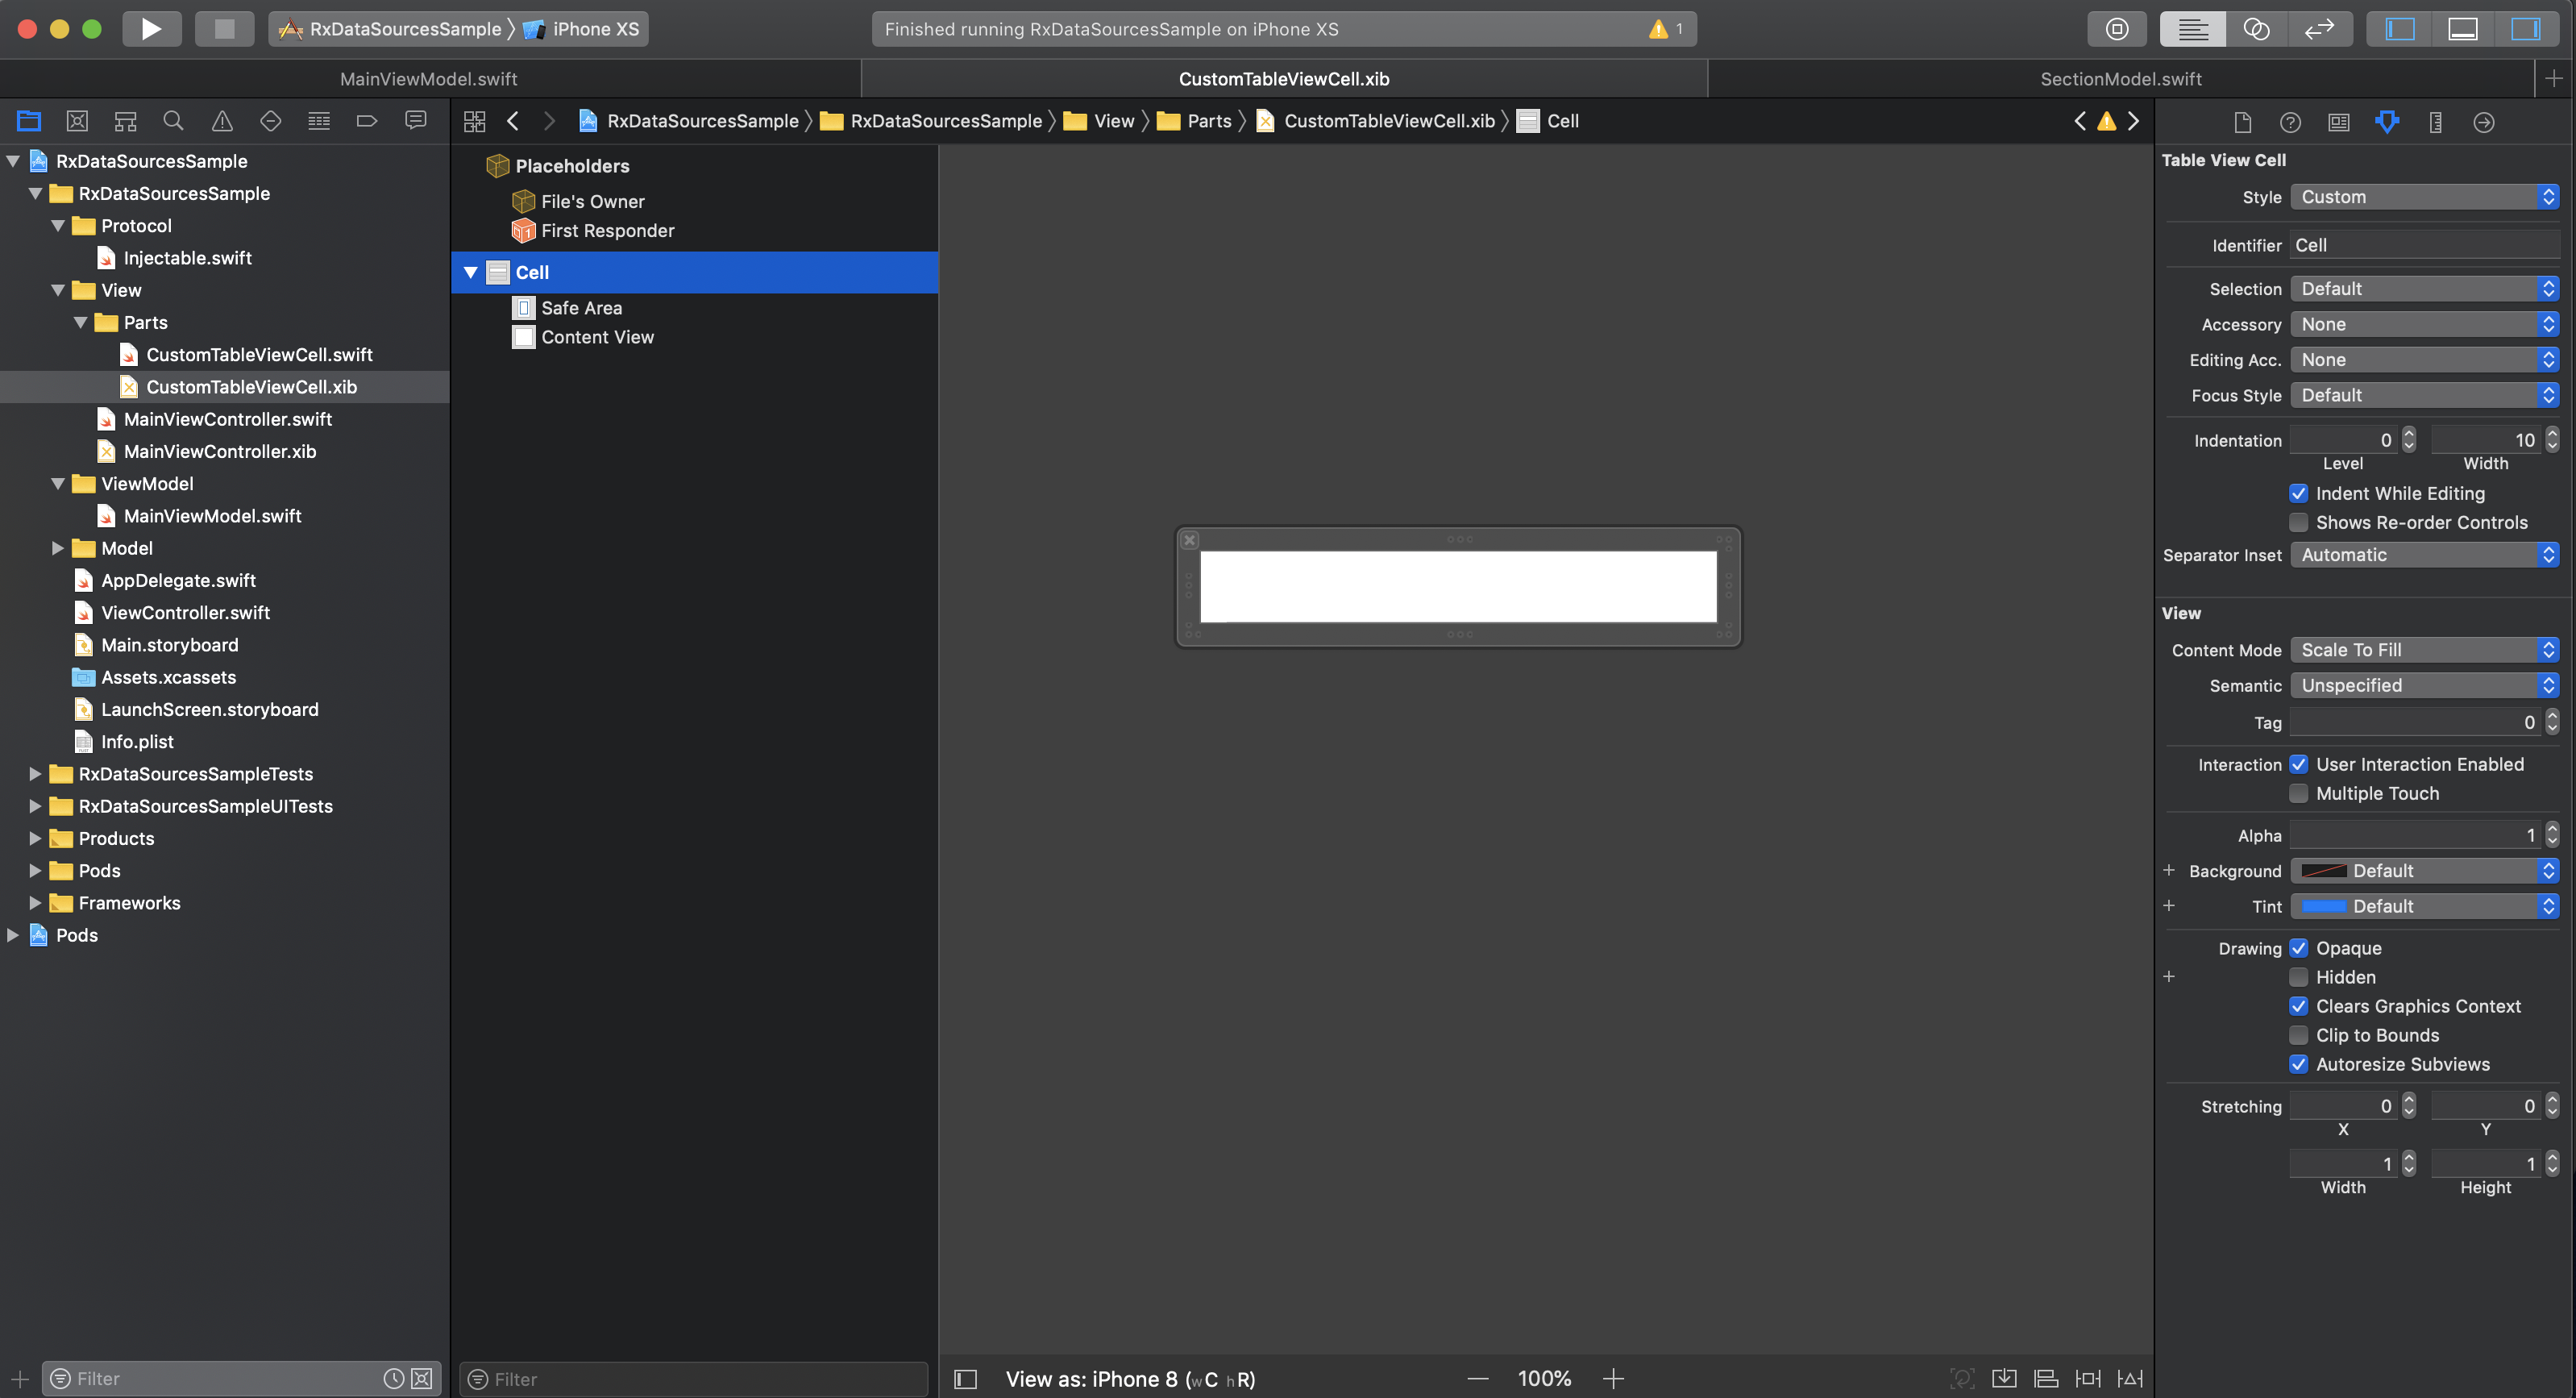
Viewの実装
今回、 MVVM で実装するに辺り、 storyboard から xib に変更しました。xib で UITableView を載せているだけです。
また、 xib で UITableViewCell を用意します。
MVVM で構成するために、 Injectable を定義します。
1
2
3
4
5
6
7
8
9
10
11
// Injectable.swift
protocol Injectable {
associatedtype Dependency
init ( with dependency: Dependency )
}
extension Injectable where Dependency == Void {
init () {
self . init ( with: ())
}
}
そして MainViewController.swift の実装です。ViewModel に移行しているだけで、ほぼ変更はありません。
1
2
3
4
5
6
7
8
9
10
11
12
13
14
15
16
17
18
19
20
21
22
23
24
25
26
27
28
29
30
31
32
33
34
35
36
37
38
39
40
41
42
43
44
45
46
47
48
49
50
51
52
53
54
55
56
57
58
59
60
61
62
// MainViewController.swift
import UIKit
import RxSwift
import RxCocoa
import RxDataSources
// Injectableを継承
class MainViewController: UIViewController , Injectable {
typealias Dependency = MainViewModel
@ IBOutlet private weak var tableView: UITableView !
private let disposeBag = DisposeBag ()
private var dataSource: RxTableViewSectionedReloadDataSource < SectionModel >!
private let viewModel: MainViewModel
// 初期化時にViewModelを設定できるようにする
required init ( with dependency: Dependency ) {
viewModel = dependency
super . init ( nibName: nil , bundle: nil )
}
@ available ( * , unavailable )
required init ? ( coder aDecoder: NSCoder ) {
fatalError ( "init(coder:) has not been implemented" )
}
override func viewDidLoad () {
super . viewDidLoad ()
// Do any additional setup after loading the view.
tableView . register ( CustomTableViewCell . self , forCellReuseIdentifier: "Cell" )
dataSource = RxTableViewSectionedReloadDataSource < SectionModel > (
configureCell: { _ , tableView , indexPath , item in
let cell = tableView . dequeueReusableCell ( withIdentifier: "Cell" ,
for : IndexPath ( row: indexPath . row , section: 0 ))
cell . textLabel ? . text = item .0
cell . accessoryType = . disclosureIndicator
return cell
}, canEditRowAtIndexPath: { _ , _ in
return true
})
viewModel . dataRelay . asObservable ()
. bind ( to: tableView . rx . items ( dataSource: dataSource ))
. disposed ( by: disposeBag )
tableView . rx . itemDeleted
. subscribe ( onNext: { [ weak self ] indexPath in
guard let strongSelf = self else { return }
// ViewModelにテーブルビューの行を削除操作を伝える
Observable . just ( indexPath )
. bind ( to: strongSelf . viewModel . requestDeleteRecordStream )
. disposed ( by: strongSelf . disposeBag )
})
. disposed ( by: disposeBag )
}
}
ViewModelの実装
さて、 ViewModel の実装です。
1
2
3
4
5
6
7
8
9
10
11
12
13
14
15
16
17
18
19
20
21
22
23
24
25
26
27
28
29
30
31
32
33
34
35
36
37
38
39
40
41
42
43
44
45
46
// MainViewModel.swift
import Foundation
import RxSwift
import RxCocoa
// Injectableを継承
final class MainViewModel: Injectable {
struct Dependency {
}
// MARK: - Properties
private let disposeBag = DisposeBag ()
private var sectionModels: [ SectionModel ] !
// MARK: PublishRelays
let requestDeleteRecordStream = PublishRelay < IndexPath > ()
// MARK: BehaviorRelays
var dataRelay = BehaviorRelay < [ SectionModel ] > ( value: [])
// MARK: Initial method
init ( with dependency: Dependency ) {
sectionModels = [ SectionModel ( items: [( "test1" , 1 ), ( "test2" , 2 ), ( "test3" , 3 )])]
// 画面初期描画時に初期設定のsectionModelsを渡す
Observable . deferred {() -> Observable < [ SectionModel ] > in
return Observable . just ( self . sectionModels )
}
. bind ( to: dataRelay ) // dataRelayにデータを流し込む
. disposed ( by: disposeBag )
requestDeleteRecordStream
. subscribe ( onNext: { [ weak self ] indexPath in
guard let strongSelf = self , let sectionModel = strongSelf . sectionModels . first else { return }
var items = sectionModel . items
items . remove ( at: indexPath . row )
strongSelf . sectionModels = [ SectionModel ( items: items )]
// dataRelayにデータを流し込む
strongSelf . dataRelay . accept ( strongSelf . sectionModels )
})
. disposed ( by: disposeBag )
}
}
まとめ
さて如何でしたでしょうか?
ということで本日はここまで。