iOSネイティブアプリでGoogle APIを叩く方法
以前、 gtm-oauth2 を使ったiOSでのOAuth2認証について説明しました。
(iOSでGoogle OAuth認証がしたいを参照のこと)
今回はOAuth2認証の後の話、そうGoogle APIを叩くメソッドの実装について説明します。
ユーザ情報の取得
まずは、ユーザ情報の取得を実装します。
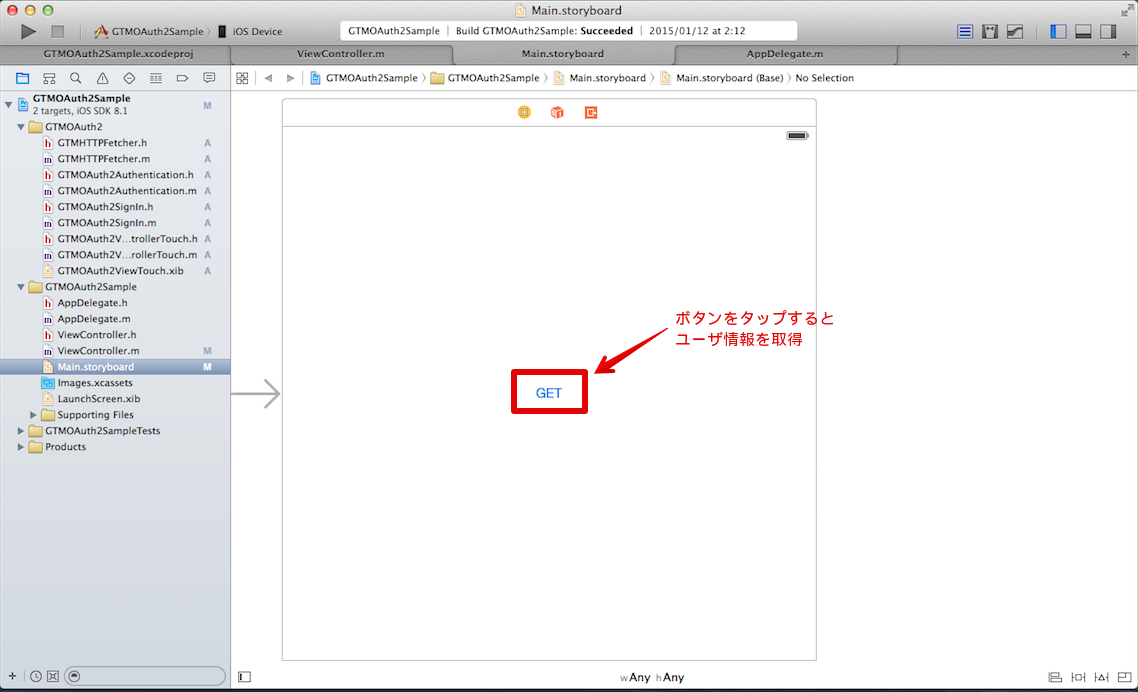
下記のように、画面上のGETボタンをタップしたときにユーザ情報を取得するという処理を実装してみます。
念のため、OAuth2認証の処理は下記になります。
1
2
3
4
5
6
7
8
9
10
11
12
13
14
15
16
17
18
19
20
21
22
23
24
25
26
27
28
29
30
31
32
33
34
35
36
37
38
39
40
41
42
43
44
45
46
47
48
49
50
51
52
53
54
55
56
57
58
59
60
61
62
63
64
65
66
67
68
69
70
71
72
73
74
75
76
77
78
79
80
81
82
83
84
85
| // ViewController.m
#import "ViewController.h"
#import "GTMOAuth2Authentication.h"
#import "GTMOAuth2ViewControllerTouch.h"
static NSString *const clientId = @"********";
static NSString *const clientSecret = @"*********";
static NSString *const redirectURI = @"urn:ietf:wg:oauth:2.0:oob";
static NSString *const scope = @"https://www.googleapis.com/auth/plus.login https://www.googleapis.com/auth/userinfo.email";
static NSString *const kKeychainItemName = @"Google";
static NSString *const hasLoggedIn = @"hasLoggedIn";
@interface ViewController ()
@property (nonatomic, retain) GTMOAuth2Authentication *auth;
@property (nonatomic, strong) NSString *accessToken;
-(void) startLogin;
@end
< 省略 >
// OAuth認証の開始
- (void)startLogin
{
// 既に認証をしたかどうか確認
NSUserDefaults *defaults = [NSUserDefaults standardUserDefaults];
BOOL hasLoggedin = [defaults boolForKey:hasLoggedIn];
if(hasLoggedin == YES) {
// 認証済みの場合
self.auth = [GTMOAuth2ViewControllerTouch authForGoogleFromKeychainForName:kKeychainItemName
clientID:clientId
clientSecret:clientSecret];
// アクセストークンの取得
[self authorizeRequest];
} else {
// 未認証の場合
GTMOAuth2ViewControllerTouch *gvc = [[GTMOAuth2ViewControllerTouch alloc] initWithScope:scope
clientID:clientId
clientSecret:clientSecret
keychainItemName:kKeychainItemName
delegate:self
finishedSelector:@selector(viewController:finishedWithAuth:error:)];
// 認証画面の表示
[self presentViewController:gvc animated:YES completion:nil];
}
}
// 認証後に実行する処理
- (void)viewController:(GTMOAuth2ViewControllerTouch *)viewController
finishedWithAuth:(GTMOAuth2Authentication *)auth
error:(NSError *)error
{
if(error != nil) {
// 認証失敗
} else {
// 認証成功
self.auth = auth;
NSUserDefaults *defaults = [NSUserDefaults standardUserDefaults];
[defaults setBool:YES forKey:hasLoggedIn];
[defaults synchronize];
// アクセストークンの取得
[self authorizeRequest];
}
// 認証画面を閉じる
[viewController dismissViewControllerAnimated:YES completion:nil];
}
// アクセストークンの取得処理
- (void)authorizeRequest
{
NSLog(@"%@", self.auth);
NSMutableURLRequest *req = [[NSMutableURLRequest alloc] initWithURL:self.auth.tokenURL];
[self.auth authorizeRequest:req completionHandler:^(NSError *error) {
NSLog(@"%@", self.auth);
if(self.auth.accessToken) {
self.accessToken = self.auth.accessToken;
}
}];
}
|
これにユーザ情報の取得処理を実装します。
1
2
3
4
5
6
7
8
9
10
11
12
13
14
15
16
17
18
19
20
21
22
23
24
25
26
27
28
29
30
31
32
33
34
35
36
37
38
| // ViewController.m
// GETボタンをタップしてユーザ情報を取得
- (IBAction)getBtnAction:(id)sender {
NSError *err = nil;
NSDictionary *res = [self httpGetRequest:@"https://www.googleapis.com/oauth2/v2/userinfo" timeout:10 error:&err];
NSLog(@"res: %@", res);
}
// GETリクエスト処理
- (NSDictionary *)httpGetRequest:(NSString *)url
timeout:(NSInteger)timeout
error:(NSError **)error
{
NSDictionary *result = nil;
if(url) {
NSError *err = nil;
NSMutableURLRequest *request = [[NSMutableURLRequest alloc] initWithURL:[NSURL URLWithString:urlEscapeStr] cachePolicy:NSURLRequestReloadIgnoringLocalCacheData timeoutInterval:timeout];
// ヘッダーにアクセストークンをセット
NSString *token = [NSString stringWithFormat:@"OAuth %@", self.accessToken];
[request setValue:token forHTTPHeaderField:@"Authorization"];
NSURLResponse *response = nil;
NSData *res = [NSURLConnection sendSynchronousRequest:request returningResponse:&response error:&err];
// ステータスコードの取得
NSInteger statusCode = [(NSHTTPURLResponse *)response statusCode];
if (err || statusCode >= 400) {
*error = err;
} else {
NSError *error = nil;
result = [NSJSONSerialization JSONObjectWithData:res options:NSJSONReadingAllowFragments error:&error];
}
}
return result;
}
|
これでユーザ情報が取得できるはずです。
ポイントは
- 初めのOAuth2認証でユーザ情報を取得できるようにscopeを設定していること
- リクエスト時にヘッダーにアクセストークンをセットしていること
です。
因みに、上記の処理では本来、URLエンコードをするべきですが、GETリクエストパラメータを含まないことから省略しています。
参考:
・gtm-oauth2でOAuth認証してgoogleのAPIを使う